 Catch Pins
From first photo
to saved spot.
A little less typing. A lot more remembering.
Follow a Lake St. Clair sample trip through the actual app.
Real app screenshots · Sample catches · Navy & sky blue
Start with a fish photo
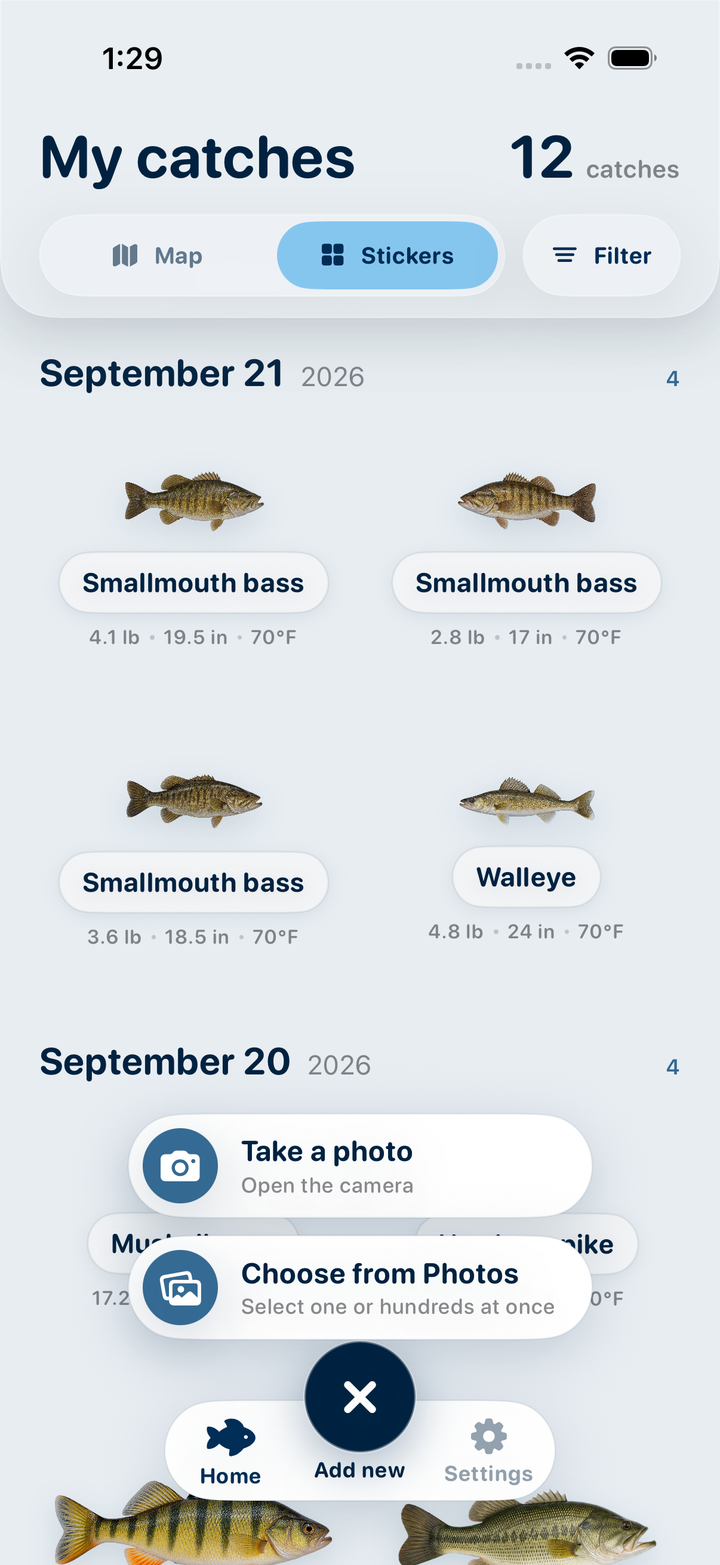
Tap the plus button at the bottom of My catches. Choose Take a photo for a new catch, or Choose from Photos to import an existing one.
You can select several photos for a whole trip. In the photo picker, tap Continue once you have made your selection.
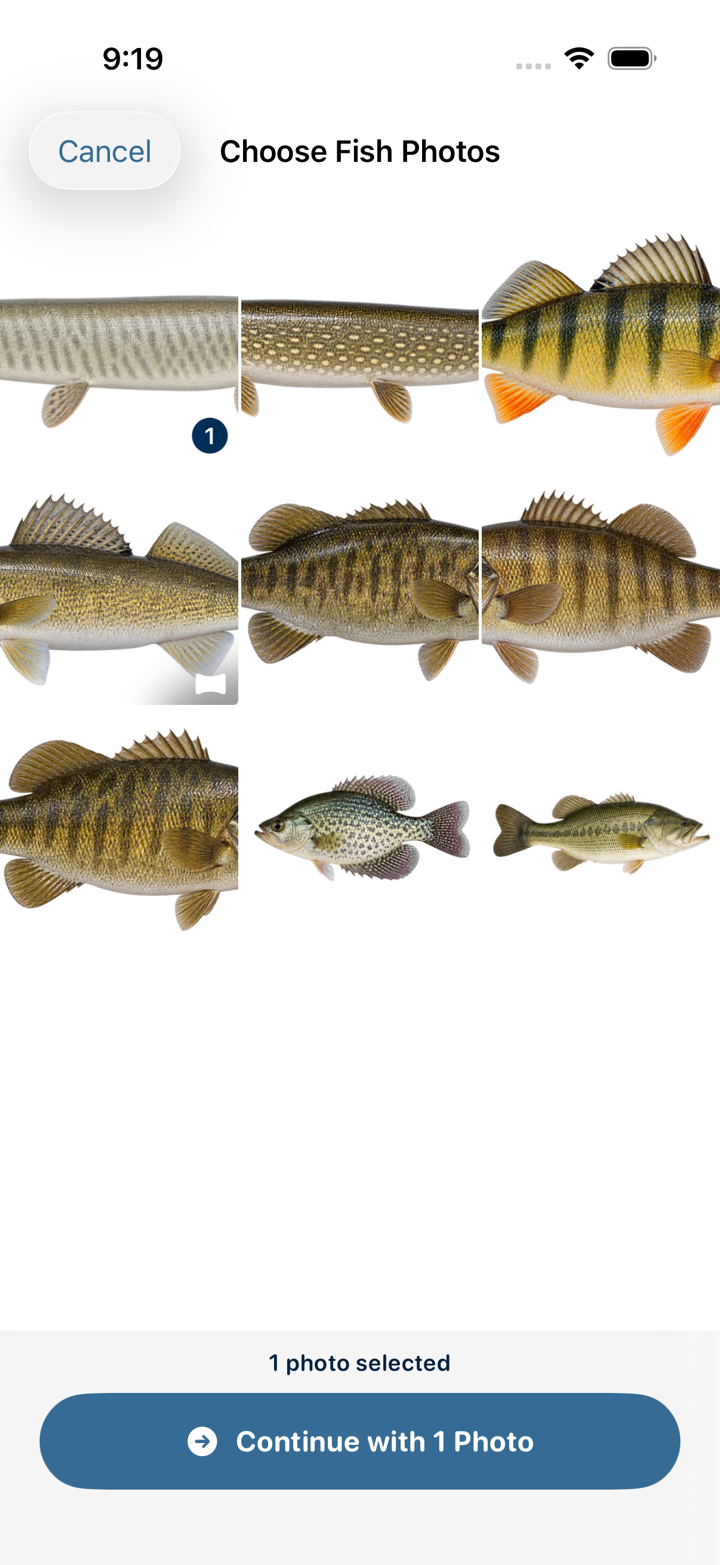
Choose your photo, then name it
Select your fish photo, then tap Continue with 1 Photo. Catch Pins processes it on your device, isolates the fish and offers species suggestions. Choose a suggestion or type the name you want to keep. If a cutout cannot be made, choose Use original photo to save the catch and its details anyway.
Add as much or as little detail as you like, then save. You can come back and edit the name or details later.
Remember what was working
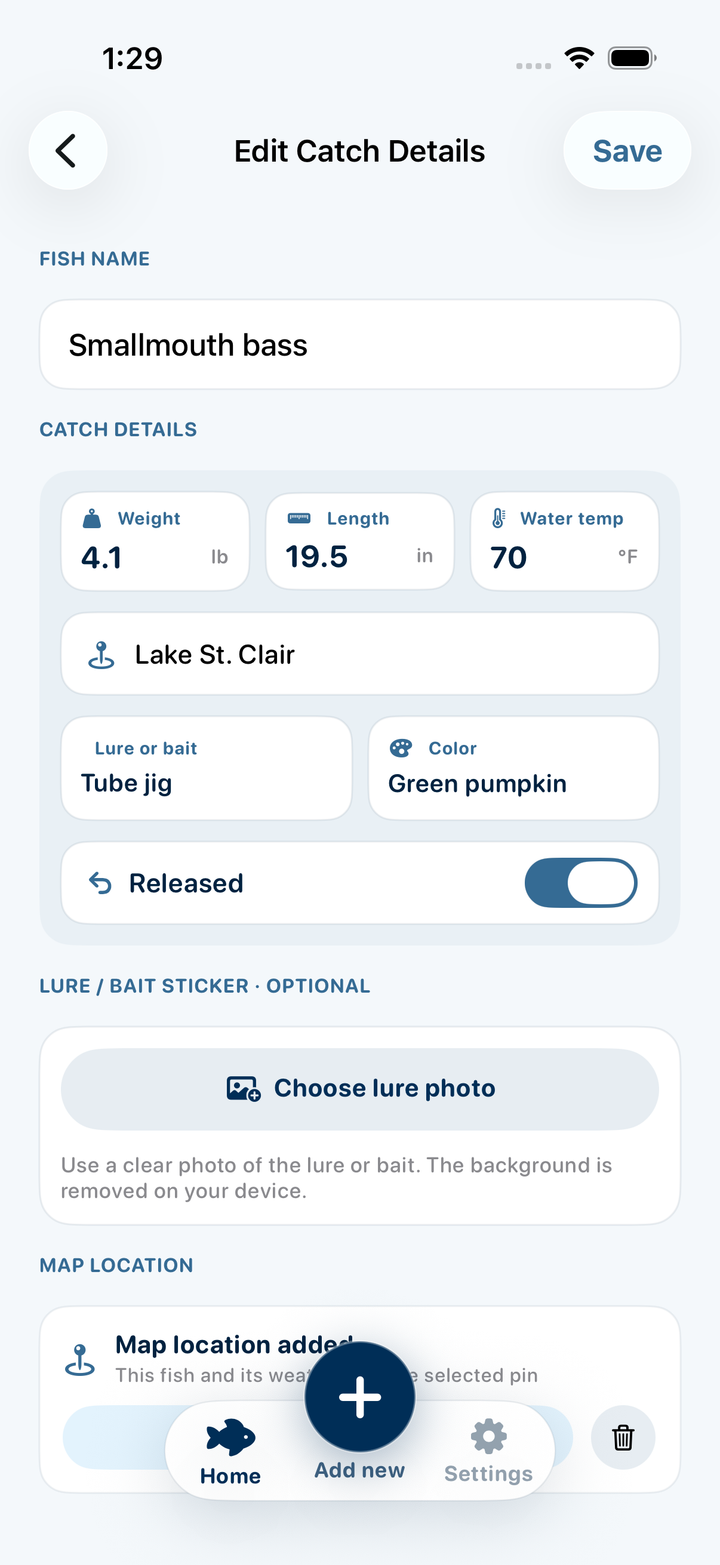
Open a saved catch and tap Edit catch details. Add weight, length, water temperature, lure or bait, and the water body. Mark a fish as released when it goes back in.
The map location is separate from the water-body name. Use the map location control to place or adjust the catch pin, then tap Save.
Build a gallery worth revisiting
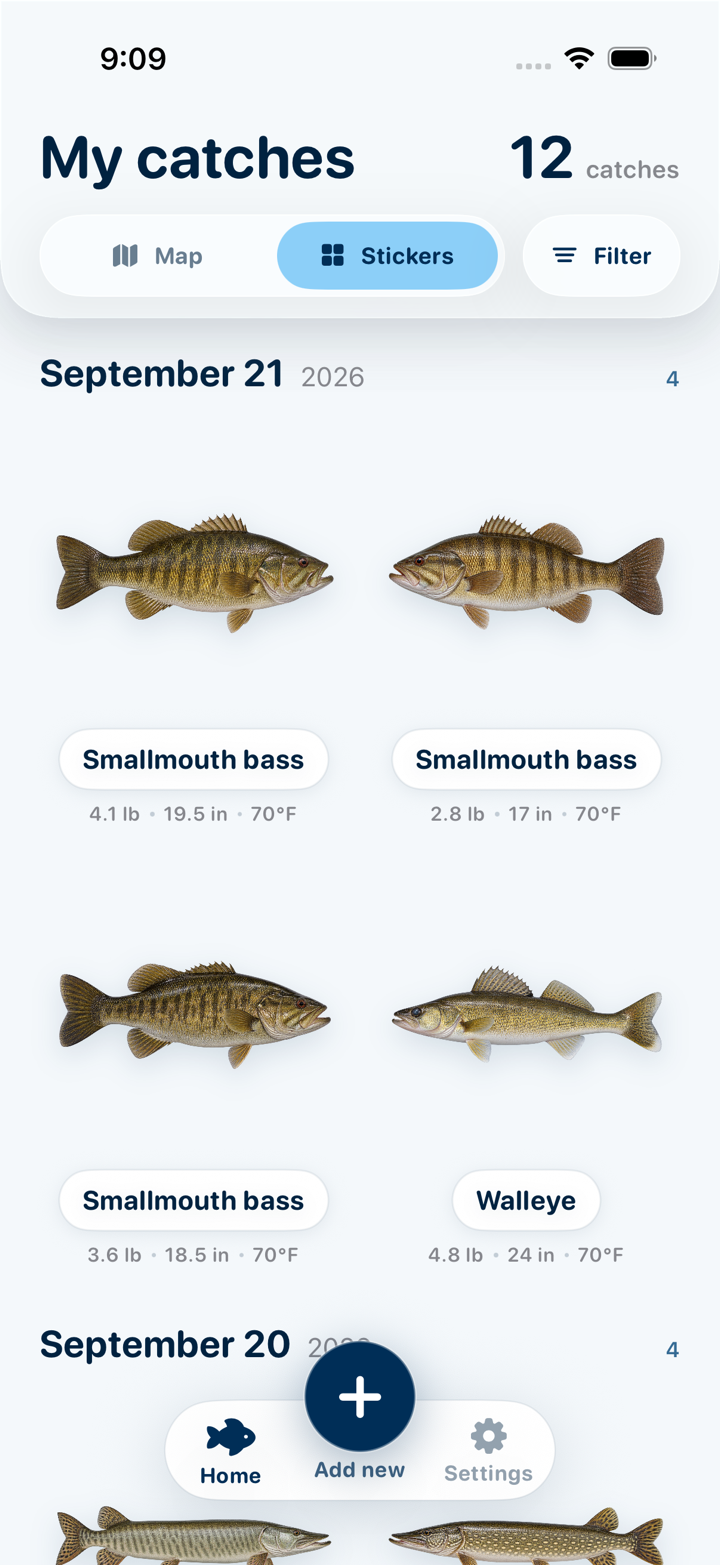
Choose Stickers in My catches to see your fish grouped by day. Tap any fish to open its catch card and revisit its measurements, lure and location.
These sample catches include three smallmouth variations, walleye, perch and muskie from a Lake St. Clair demo trip. Your own gallery starts with your own photos.
Put the lake in context
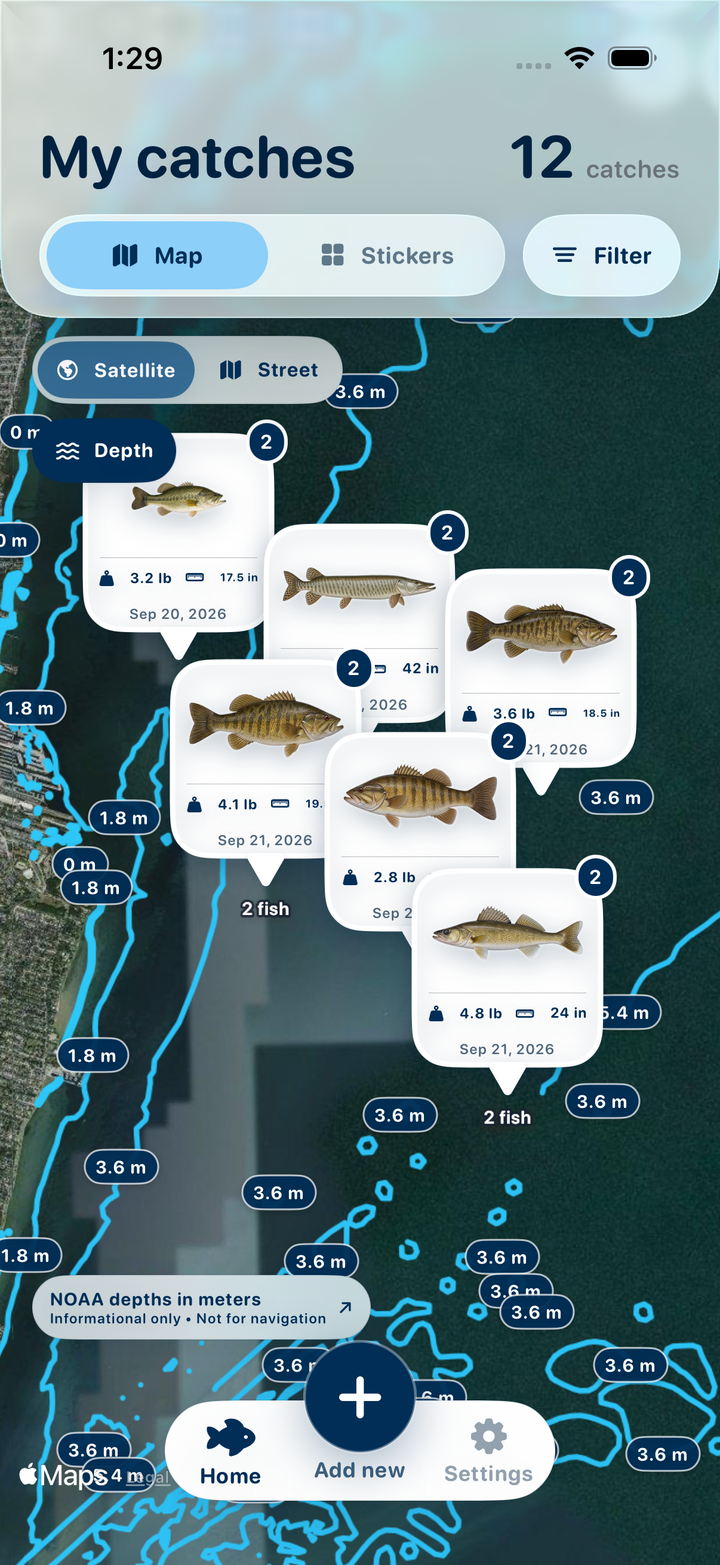
Switch to Map to see catches with saved locations. Pinch to zoom around your water, and use the map-style button to switch between the standard map and satellite imagery.
Tap Depth to load NOAA depth contours for the visible area. The Lake St. Clair example shows real chart contours and depth labels in meters. Zoom in and allow a moment for the layer to load.
Depth coverage depends on the charted area. The app labels this layer as informational only, not for navigation. About NOAA chart data
Find the pattern in your catches
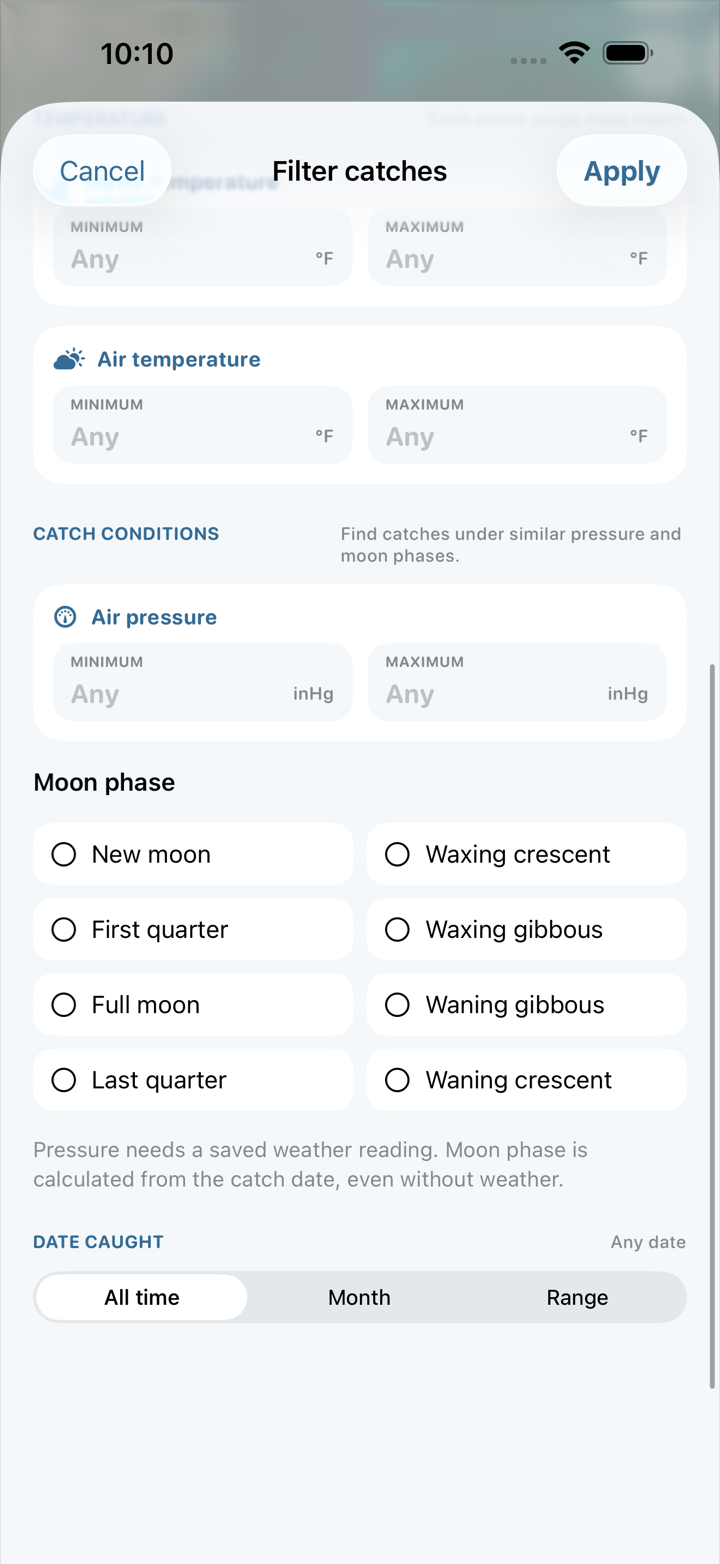
Tap the filter button beside My catches. Narrow the gallery and map by fish, size, temperatures, pressure, moon phase or time of year. Change the sort order to bring heavier or longer catches to the top.
Filters follow you between Stickers and Map. Clear them when you want the full gallery again.
Set it up for your fishing
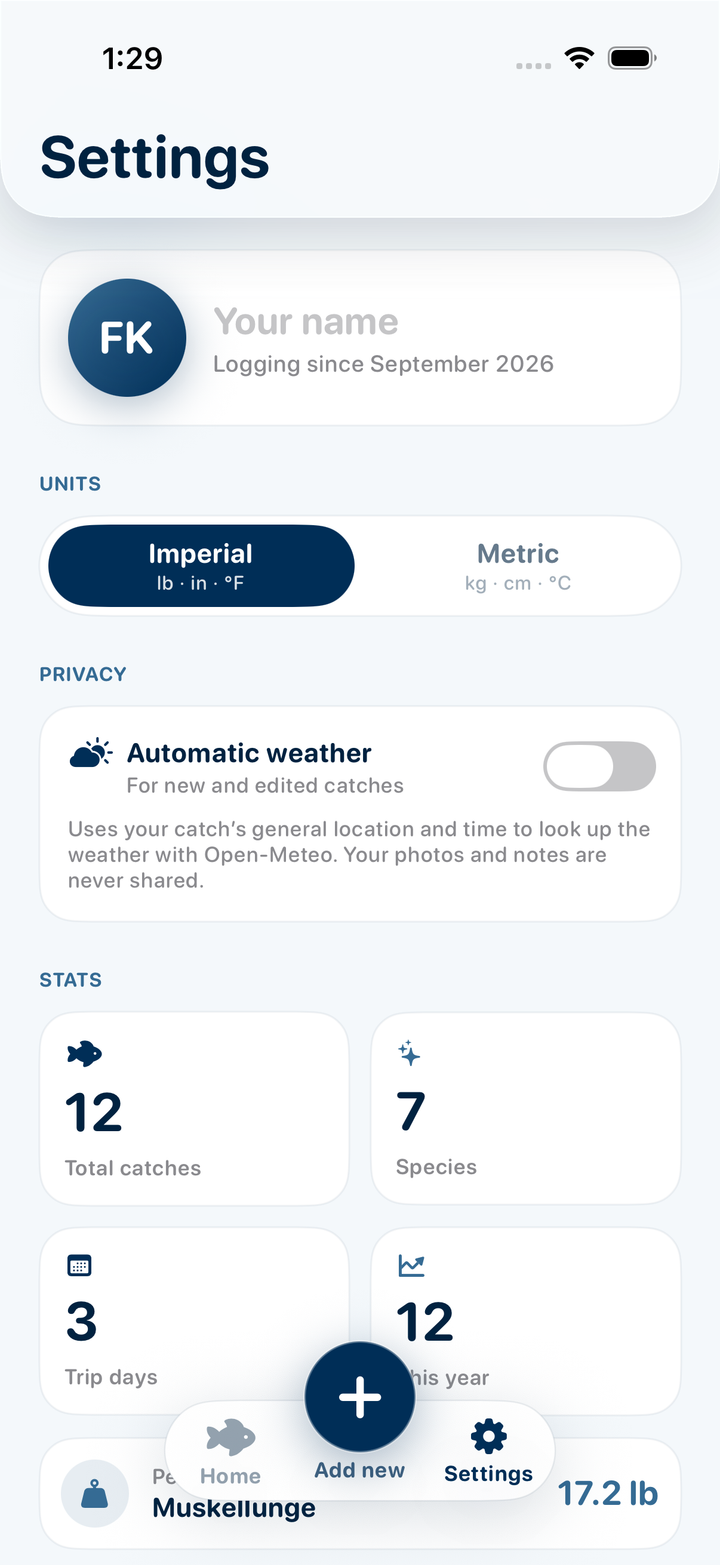
Open Settings to choose your units and manage automatic weather. With weather enabled, the app looks up conditions using an approximate catch location and the catch time.
Your photos and catch details stay on your device until you choose to export a backup. Weather uses Open-Meteo; turning on Depth requests chart data for the visible map area from NOAA. See Privacy & acknowledgements in Settings for the details.
Ready for your next catch.
Start with a photo. The gallery grows from there.
Back to Catch PinsScreens captured from Catch Pins on an iPhone simulator. Fish images and catch records are generated demonstration fixtures. Lake St. Clair species inspiration: Michigan DNR. Map depth data: NOAA ENC.